
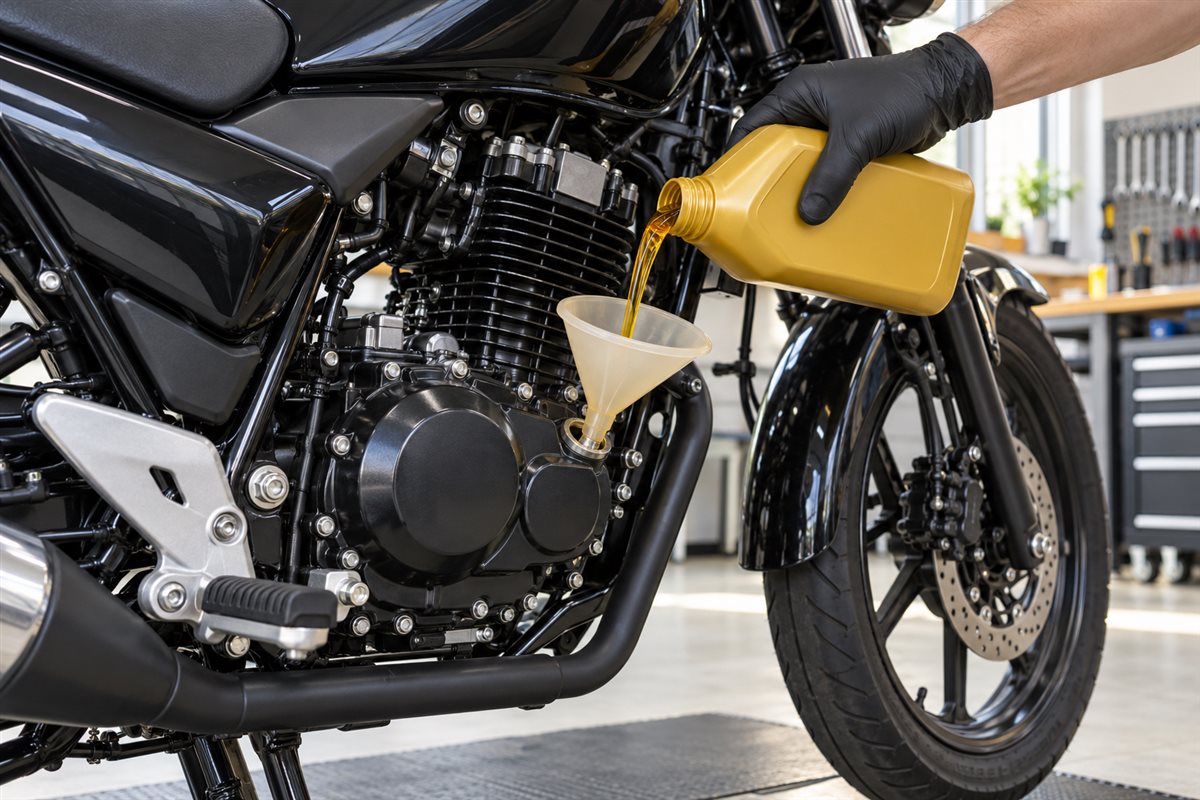
To change engine oil in a bike, check the owner’s manual, drain the used oil safely, service the filter as specified, refill with the correct oil and check the level and leaks. The exact quantity, drain points and tightening torque depend on your motorcycle.
Before you start: check your motorcycle manual
This guide covers the general approach for a four-stroke motorcycle. It does not replace your model’s maintenance instructions. Two-stroke engines and bikes with separate transmission oil systems need different procedures.
Find the required SAE viscosity, performance specification, oil-change capacity, filter service schedule and tightening torques. A capacity listed for an oil-only change can differ from a change that includes the filter. Use the figure for the job you are actually doing.
If you cannot identify the correct drain bolt or safely support the bike, ask a qualified motorcycle workshop to carry out the service. Manufacturer manuals also identify jobs that require special tools or dealer attention. Honda’s official owner-manual portal is one example; choose documentation for your own make, model and year.
What you need for a bike engine oil change
- The correct motorcycle engine oil and the amount specified in your manual.
- A replacement filter, sealing washer or O-ring where the service procedure requires one.
- A suitable socket or spanner, torque wrench and any model-specific filter tool.
- A drain pan, clean funnel, measuring container and lint-free cloths.
- Oil-resistant gloves, eye protection and a stable, manufacturer-approved support.
- A sealed container for taking used oil to a suitable collection point.
Prepare everything before opening the engine. Keep the work area clean so that dirt cannot enter the filler opening. Never substitute an engine-oil grade simply because a different bottle is already available.
How to change engine oil in a bike: 7 steps
1. Position and prepare the motorcycle
Work on firm, level ground in a ventilated area. Follow the manual’s instructions for support, engine warm-up and waiting time, then switch the engine off. Warm oil and exhaust parts can burn: let hot surfaces cool enough to work safely.
2. Identify the filler and drain points
Locate the filler cap and specified drain bolt using the manual. Some engines have more than one drain point. Place the pan underneath before loosening anything, and protect nearby tyres and brakes from splashes.
3. Drain the old oil
Open the filler and remove the drain bolt in the sequence your manual specifies. Let the oil drain into the pan. Inspect the removed washer and bolt, and keep debris away from the open engine. Do not start the engine while its oil is drained.
4. Service the filter or strainer
Replace the filter or clean the strainer when the manufacturer’s schedule requires it. Use the specified part and fitting procedure. For a spin-on filter, check that the old gasket has not remained on the mounting surface before fitting the replacement.
5. Refit and tighten correctly
Install the specified new seals and refit the drain bolt and filter. Start threaded parts carefully by hand, then tighten to the model’s stated torque. Guessing a torque or using another motorcycle’s value can damage threads or leave a leak.
6. Refill with the specified oil
Use a clean funnel and add oil gradually, following the manual’s refill quantity and level-check procedure. Allow it to settle before checking. A one-litre pack is a container size, not a universal bike capacity: do not automatically pour in the entire pack.
7. Check level, leaks and service records
Refit the filler cap. Perform the manual’s post-change checks, including any brief engine run and settling period. Check for leaks and verify the level with the bike in the specified position. If a pressure warning stays on or oil leaks, switch off and have the cause checked before riding.
These general steps are consistent with Castrol’s motorcycle oil-change guidance and Shell’s preparation and draining guide. Your motorcycle’s instructions take priority.
How many kilometres before changing bike engine oil?
There is no single kilometre interval that suits every bike. Follow the distance or time limit in your owner’s manual, including any separate first-service or demanding-use schedule. Do not extend that schedule only because a bottle says “synthetic”.
Keep a record of the date, odometer reading, oil grade and filter work. For riding conditions not clearly covered in the manual, discuss the schedule with your manufacturer’s service centre. Oil colour alone does not establish the correct change interval.
Common mistakes and used-oil disposal
Avoid overfilling, choosing oil by viscosity alone, reusing a seal that should be replaced, and overtightening the drain bolt. Read the complete oil specification, including any clutch-related requirement for your bike. Learn more in our motorcycle engine oil selection guide.
Keep drained oil in a closed, clearly labelled container. Do not pour it into a drain, onto soil or into water. Ask a workshop or local waste service where used oil and filters can be accepted. Wipe away spills before moving the motorcycle.